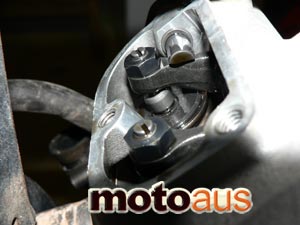
 What the hell is this and why do I need to know?
 Regular maintenance on your pride and joy is a given. Be it road or dirt, if you neglect it, it WILL let you down at the worst possible time. In this article, we're going to dive into what some consider to be the black art of valve clearances. There is an easy way to do the valve clearances, take it to the shop, pay about $120 and take it home. Or, if you're like me and you enjoy quality time in the shed with your motorcycle, you can have a crack at it yourself and make sure the job is done to your specs.
In this article, we'll be doing the valve clearances* on our long term KTM450EXC, but the same theory applies to most motorcycles with simple rocker top ends. Shim and bucket adjusting is a different story and we'll be covering them on our www.motoaus.com Hayabusa at a later date.
We like to combine a major service with a minor service, so the first thing to do is to drop the oil and remove the seat and tank. Once we've done this, we wash the bike thoroughly to clean the areas that are usually covered during a normal wash. This will avoid getting any dirt into the engine when we get into it.
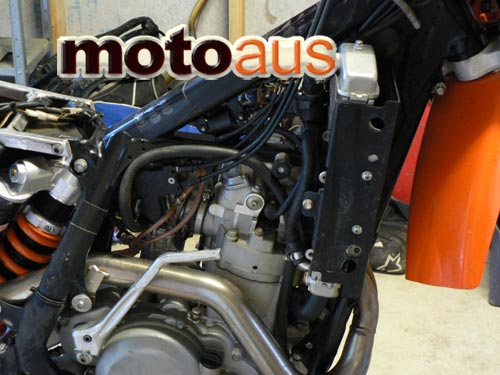
Drain the coolant in the radiators and remove them. This make the job a hell of alot easier and the small amount of time it takes is well worth the reduced frustration levels later on. There's a few ways to find the right "time" to measure the valve clearances, we're going to show you the "by the book" method, but we'll give a brief explanation of the other (possibly quicker) ways to check them at the end of the article.

Blow out the spark plug cavity with compressed air and remove the plug. Remove the rocker covers to expose the valves. Now we have to find top dead centre. Put the bike in a high gear (it's easier to turn over) and turn the back wheel with your hands.
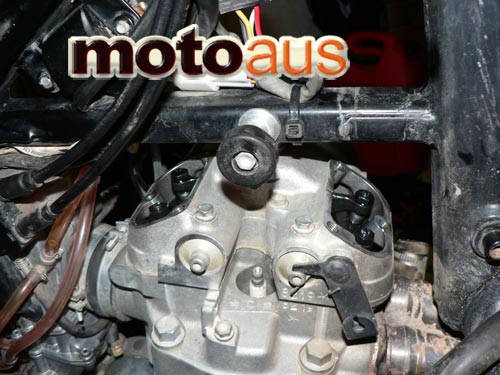
Watch the valves moves as you do this. Drop a cable tie in the spark plug hole so you can see the piston movement going up and down as you rotate the rear wheel. A four stroke engine has 2 top dead centres (TDC) so you need to watch the inlet valves to find TDC on the compression stroke.
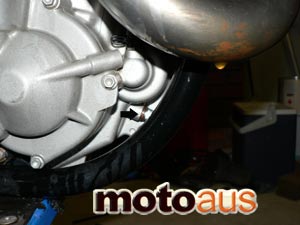 Remove the crank stop pin. Notice it has a thick copper washer and remove it. To confirm that you have found TDC, gently insert a phillips head screwdriver into the hole you removed the crank stop pin from. You should feel an indentation in the crank. Once you're certain that you're in the right spot, screw the stop pin in (without the thick washer) so that it stops the crank from moving.
Now it's time to check our valve clearances. As mentioned previously, the Kato uses tappet/rocker type valves which have a lock nut and screw type adjuster. Adjust the clearances of each valve to the recommended manufacturer specifications.
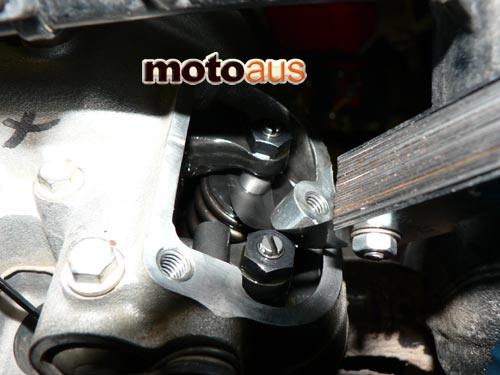
When tightening the locknut, be sure to hold the screw with a screw driver at the same, applying slight anti-clockwise pressure to allow for a little tightening due to the locknut. Once the locknut is tight, check the clearance again to make sure.
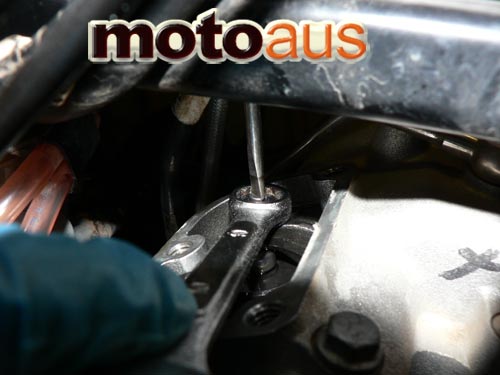
That's about it.
Once you've done all four, assemble the bike and ride! As we mentioned earlier, there are other ways to find to the appropriate time to measure the clearances. When the exhaust valves are 1/2 open, it's time to measure the inlet clearances, and when the inlets are 1/2 open, it's time to measure the exhausts. Another theory, based on the pitch of the thread used on the screws, suggests that you don't even need feeler guages at all. Just screw them down to stop and then back them out 1/6th of a turn (use the hex of the lock nut as a guide).
*motoaus.com takes no responsibility for any damage caused by the misuse or misunderstanding of this tech article. No animals were harmed during the making of this article.
